Make Your Own Canvas Beach Windbreak
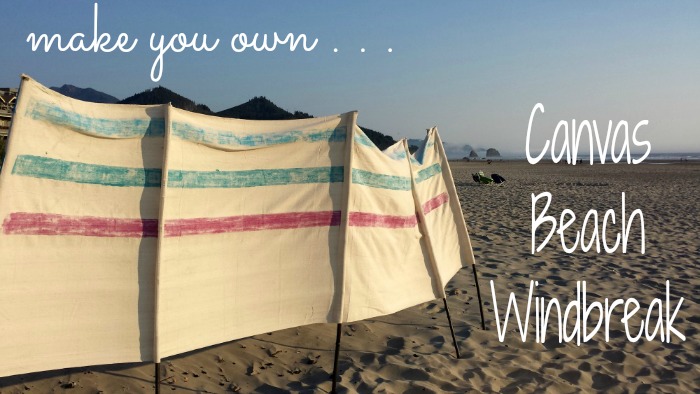
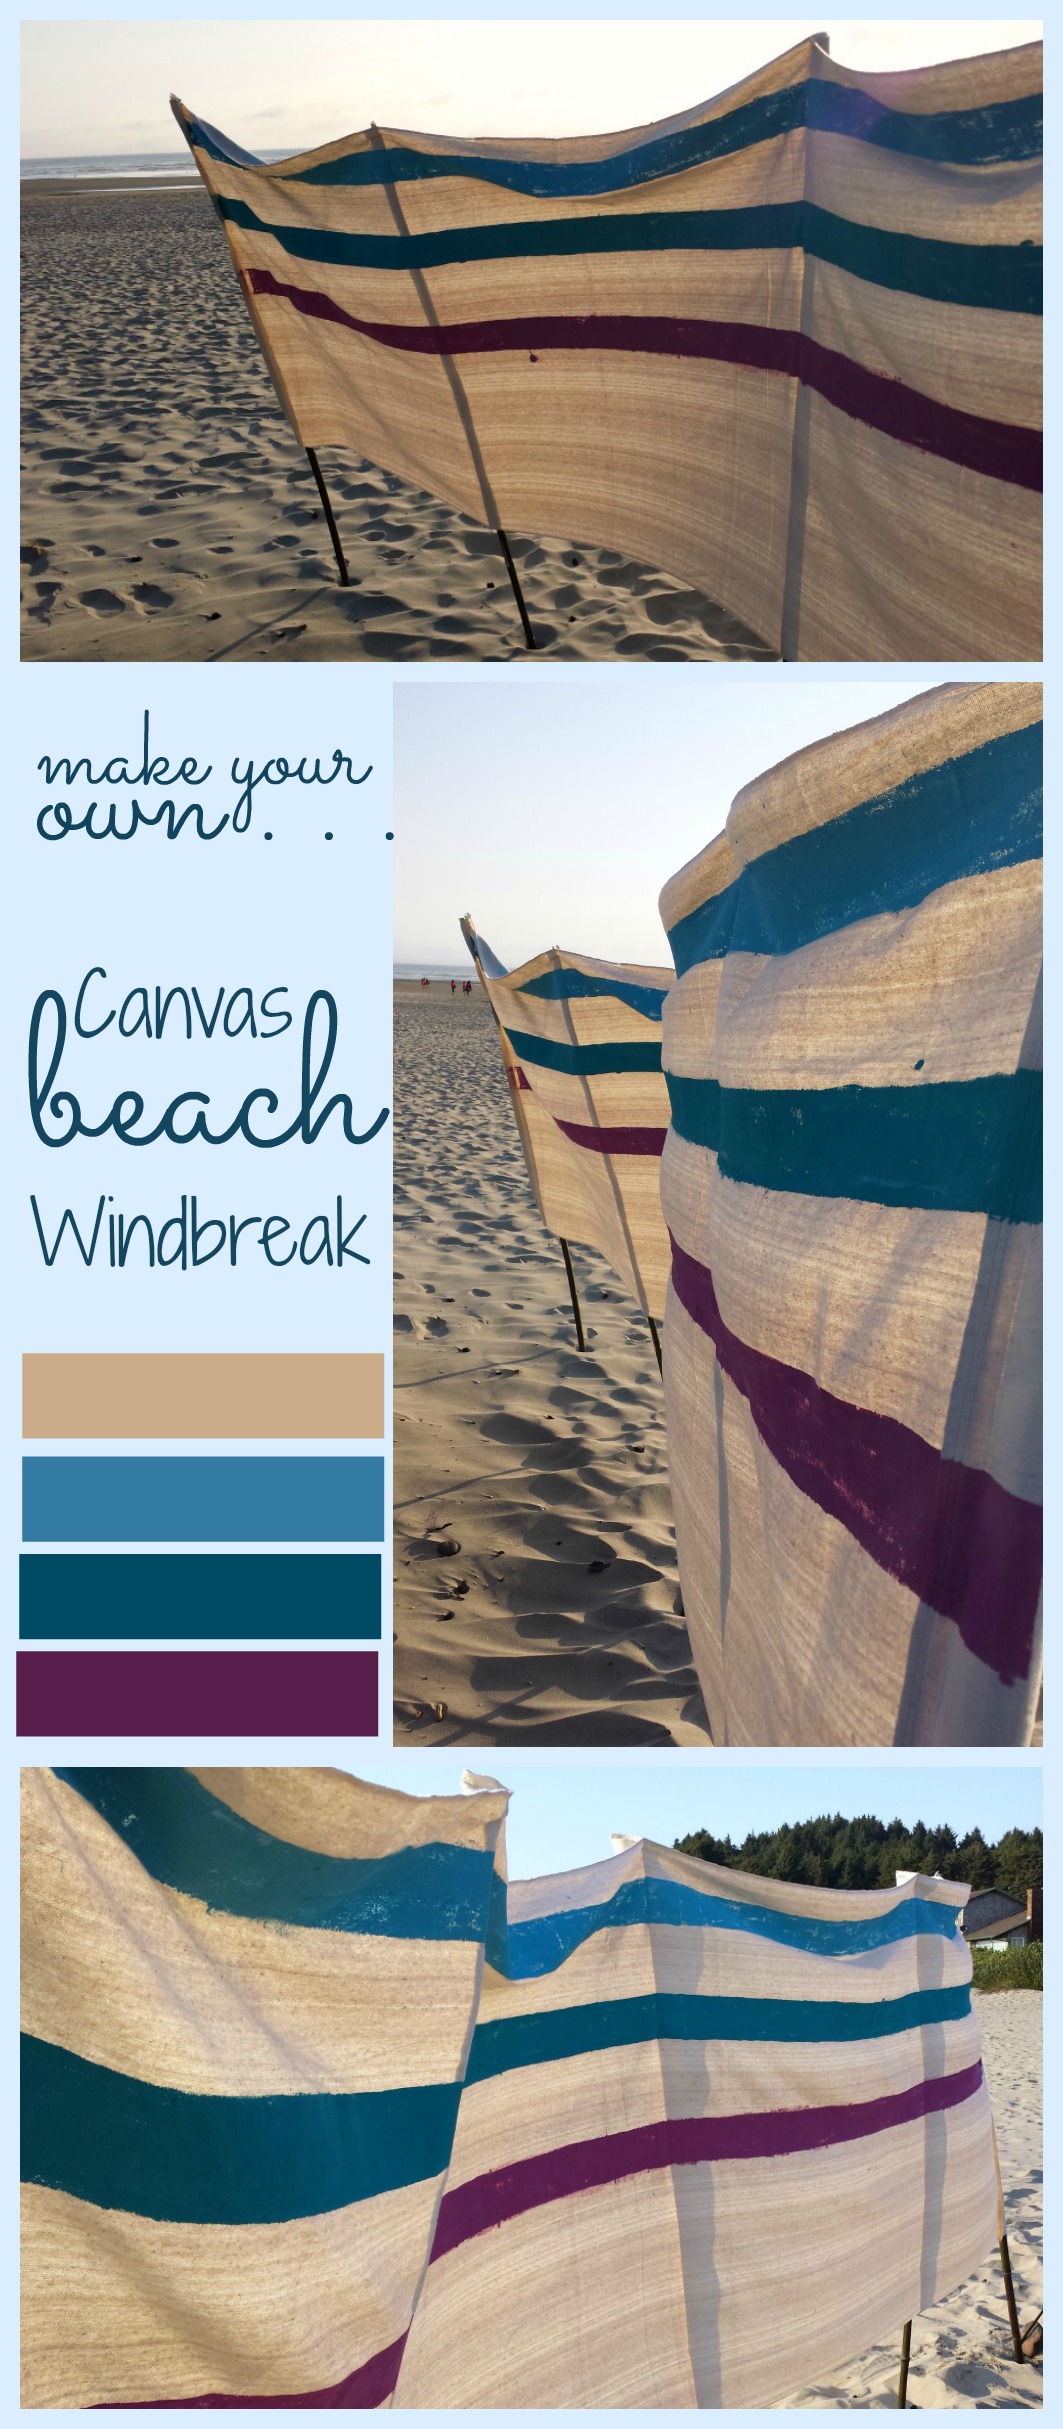
Last summer we had a marvelous two week beach vacation planned at one of my very favorite spots to visit – Cannon Beach, Oregon. It’s a dreamy beach, miles long and extra wide so there’s plenty of room for walking, running, flying kites or building sandcastles. The only drawback is that it can get windy like most beaches, so before we went I made a large canvas beach windbreak to use while we were there. It worked great at blocking the wind, and also helped to add a boundary and a bit of flair to our beach ‘compound’ (we were there with lots of family members for a reunion and had a lot of chairs and gear that we actually left on the beach each evening – well above the high-tide line of course).
It might seem like summer is ages away, but spring is a great time to get a few projects done to help you have a great time at the beach this year. It’s a perfect project for the lull between Easter and Memorial Day. The whole project cost about $20 – much lower than the average beach windbreak costs retail (here’s one on Amazon) and I got to customize it myself.
 To start, I purchased a canvas dropcloth from my local hardware store – look for the hallway runner size (mine was 4′ x 15′). The beauty of a hallway runner is that the edges are already hemmed so that saves a few steps. You could wash and dry it first, but since I knew I wasn’t planning on washing my completed windbreak I skipped that step. If you do think you’ll wash it sometime you’ll need to preshrink it now to prevent problems later.
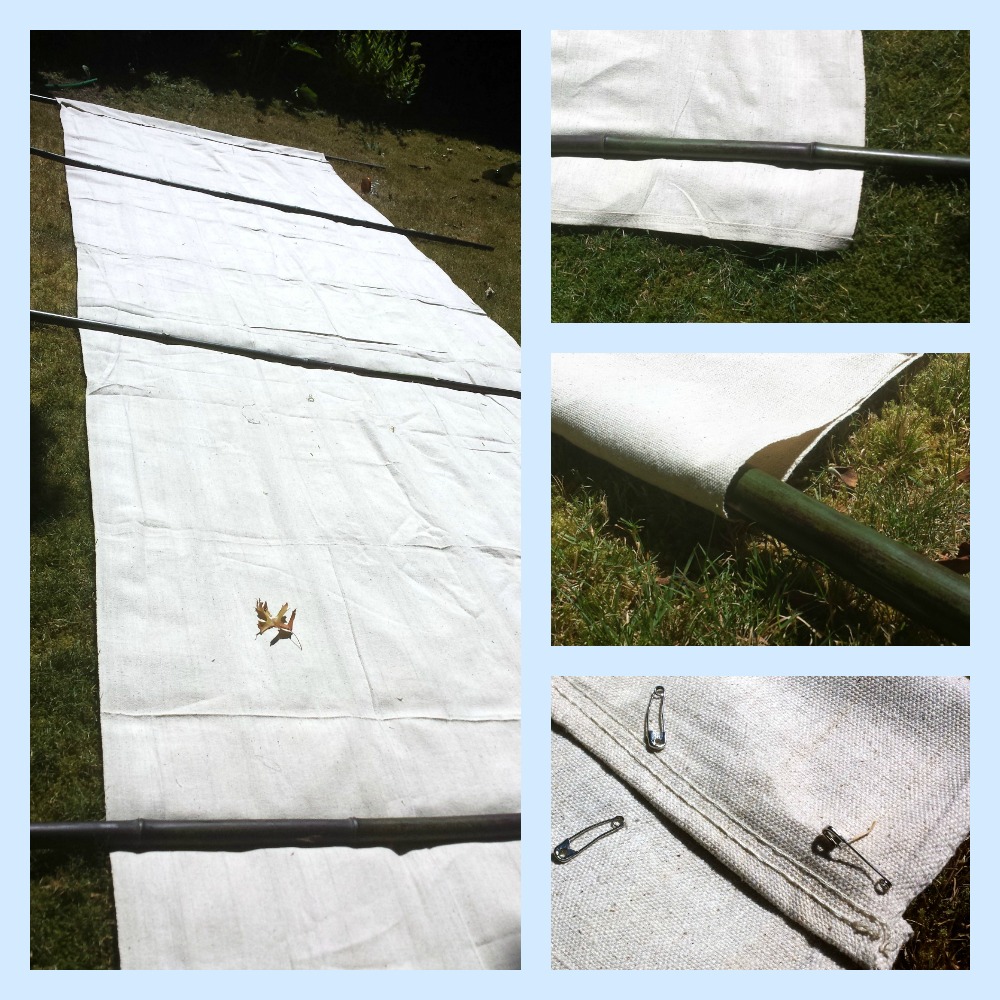
Next I laid out the dropcloth on my front lawn so I’d have plenty of room to work (and because it was a beautiful sunny day) and figured out where the pockets for the posts would go. I decided on a post at each end of the windbreak and three in between for support.

I folded over each end and pinned it shut along the length to make a pocket to slide the post in, and folded over three more pockets equally spaced along the windbreak. I pinned the canvas using large safety pins just to make sure the pins wouldn’t slide out as I was moving the windbreak around and stitching up the seams. Make sure when you do this that the pockets are wide enough to hold whichever size post you use. I was using thick bamboo stalks because they were free from my yard (and because black bamboo just looks cool too) but you could use heavy dowels or lathe pieces from the hardware store as well.
A note about your supports: make sure they are long enough to fully support the windbreak PLUS have enough extra to go deep into the sand. For my 4′ high windbreak I used bamboo that was about 6′ long.
Next I stitched up each pocket using a sewing machine with a heavy-duty needle and heavy-duty thread designed for sewing canvas. You could probably skip the sewing portion if you used enough strong safety pins but I wanted to make sure that my windbreak was durable. I also stitched across the top of each pocket to make sure the beach windbreak didn’t slide down along the supports. Once the canvas is sewn, the windbreak is ready to use.
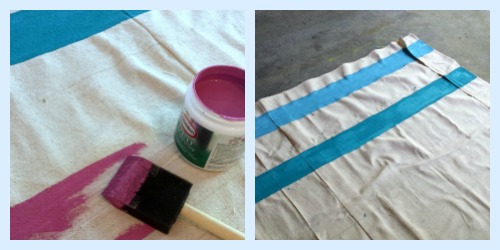
After I finished I wanted to add some paint detailing to mine. I picked out a few paint colors and had samples of exterior house paint mixed up to paint some horizontal stripes.
Confession time: I can never get masking tape to work correctly when I’m painting straight lines (it always gets under the tape or smears) so I just traced lines in pencil using a 2’x4′ as a guide and then carefully filled in the lines freehand. There were a few mistakes but that just added to the charm I say.
This post has been shared at some of these link parties – come party with us and check out the fun!
(Disclosure: Please know that if you make a purchase using a link on this page, I may earn a commission and I am very grateful for your support of this site. Thank you!)


I love this, and your directions are excellent! I have not been to Cannon Beach, but I have been to Gold Beach and I fell in love with your coast! I can’t wait to try making this! Now I live within 90 minutes of the east coast, so I go there often, and this would be very handy to have! I would love if you would stop by and link up at Celebrate It! It’s our blog party where you can share the way you celebrate the everyday!
http://thefreshmancook.blogspot.com/2015/03/celebrate-it-blog-party_19.html
I love this idea, living close to the beach!
ps. great to connect via the MomResource blog party!
Neat idea! It looks like it might be useful for providing some protection from the sun, too, if you sit in the right spot.
It can protect some from the sun, depending on which way the wind is blowing of course! It’s never exactly hot in Oregon at the coast, so we liked sitting on the sunny side so that with the wind blocked we could actually take our sweatshirts off (in August, lol!).
Those colors are great, and this is such a neat idea! It’s one of those must-have items that often get overlooked… Like a picnic basket. (Found you through the Handmade Tuesdays link up!)
Congratulations! This post is featured over at Diana Rambles today and has been pinned in the Featured at Diana Rambles board at Pinterest, Tweeted, Stumbled, and Shared on G+. Please grab a featured button off my button page or via the post guidelines graphic. Thanks for sharing this awesome idea!
Hi which sewing machine did you use- was it a machine for heavy duty fabrics or a normal domestic one? Thanks
Hi Lucinda,
I used my cheap basic Singer – just a normal domestic one. I did use a heavy duty needle and heavy duty thread, designed for sewing canvas.